In this blog post, I’ll provide you with some helpful instructions on how to charge a boat battery while it’s on the water as well as other practical advice for using various trolling motors.
For a boat ride, there are a few things that are necessary, and a battery is one of them. The fact that we are stranded in the middle of nowhere when our boat’s batteries die is unpleasant, though. As a result, you as the sailor must be aware of techniques for charging batteries or possess certain skills to handle these circumstances.
Avoid the temptation to charge a boat battery without a charger in advance of your boating plans. You’ll learn to charge trolling motor batteries while on a lake in this blog, including:
- Safety suggestions to charge your battery, and
- A boat battery can be charged with a charger in five simple steps.
Steps to Charge Your Boat Battery
Below are the steps to charge your boat battery:
Step 1. Examine the Battery Thoroughly
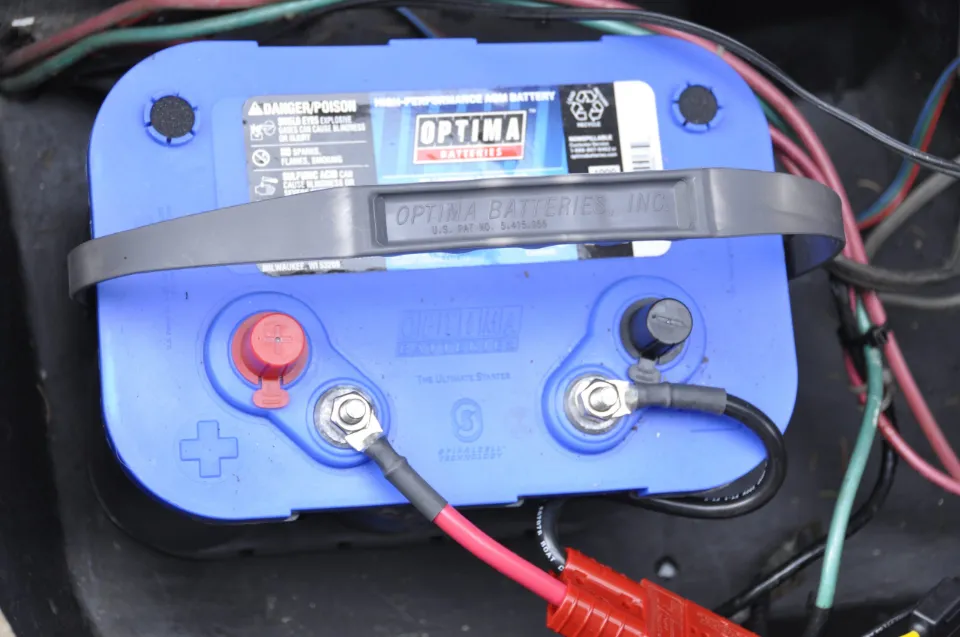
You must carefully examine the battery to determine what kind of battery your boat has. The battery in your marine boat is typically concealed in a dim area that is difficult for you to reach. Frequent exposure of the boat battery to debris, dust, and dirt.
Therefore, it is crucial to thoroughly check and clean it before recharging your boat battery. Start the quality inspection, turn off the power, grab your battery, and carefully remove it from the box. Next, check the battery’s electrical connectors and wires for corrosion and dirt, and clean them if necessary. In this manner, your battery will be organized and prepared for charging.

Pro tip: Make sure the battery terminal connections are safe and free of corrosion by regularly inspecting them. Significantly less likely to come loose are nylon locking nuts.
Step 2. Choose the Charger That Fits
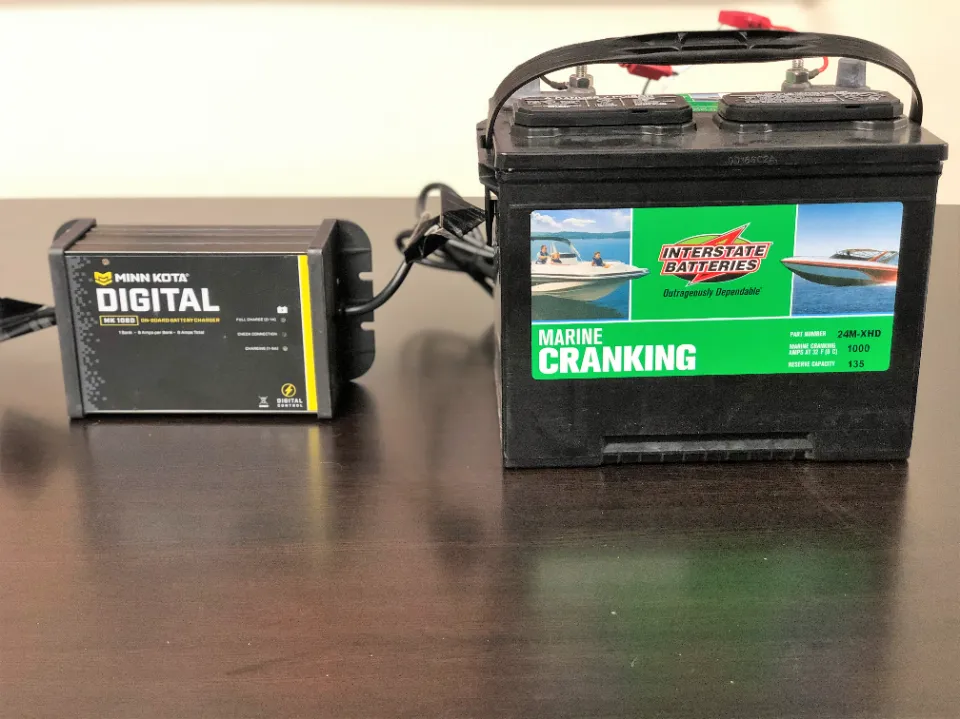
Get the charger that is right for the battery in your boat now. Using the incorrect one can harm the battery.
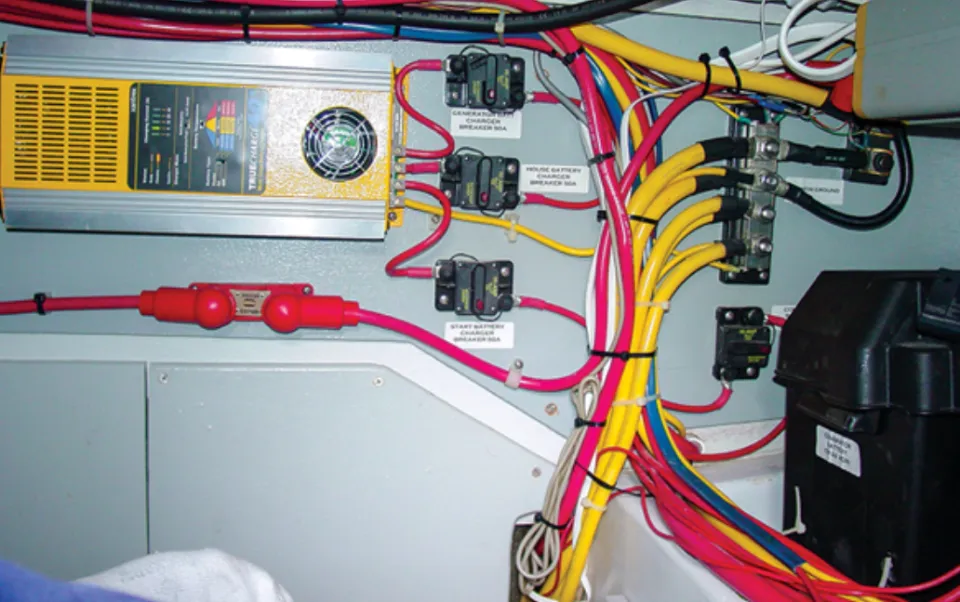
Using a good lead-acid charger is a good fit for wet-cell batteries. You’ll be able to charge your batteries quickly and easily thanks to it. Use a smart multi-stage type charger in place of a conventional charger if your boat has an AGM battery.
In the event of overcharging, this type of charger protects the battery from harm. A multi-stage type charger, on the other hand, is a three-stage charger that includes phase, bulk, and float phase. a multi-stage charger for rapid and thorough battery charging without the danger of overcharging.
In order to increase the lifespan of your boat battery, use a three-stage charger. In addition, it boosts its capacity, lowers the chance that electrolytes will be lost, and makes it easier to use on longer boating trips. If you don’t frequently use your boat, use a maintenance-style battery charger to keep the battery fully charged in between outings.
Step 3. Connect the Charger to the Battery
The right charger should now be connected to your battery, and you should start charging it. Start by securing the charger clips to the battery terminals on your boat.
Verify that the clips are attached before turning on the battery and replacing it. If you have a smart battery charger, you can check the LED display. Prior to moving on to the next step, you can monitor the battery’s charging process until it is complete.
Read: How Must a Storage Battery Be Positioned on a Boat?
Pro Tip: To keep the marine battery in place, the battery should be mounted on a sturdy battery tray with a fastened base or attached to the boat. Because In rough seas, you don’t want the battery to smash about.

Step 4. Remove the Charger from the System
As soon as you notice that the battery in your boat has fully charged, turn it off and remove the charger’s clips from the battery terminals. In order to have them available for use whenever necessary, check the battery charger as you check your battery.
Mount the battery in its original position after that. But, before you do that, remember to replace the top cover on the containment box too. You should also remove your charger between uses and charge your outboard motor whenever you can.
Always make it a routine to check that your battery is on a full charge level every day. Once you’ve finished everything, go boating and have a good time!
Tip: To keep the batteries in good condition during the off-season, charge and maintain them on a battery maintainer. Alternatively, remove the batteries from the boat and store them in a location where they can receive regular charging.
Step 5. Charge Your Boat Battery With a Solar Charger
A solar charger with photovoltaic panels can also be used to maintain the capacity of your boat’s battery. Learn more about the DIY battery charging capabilities of solar panels.
Verify that you are not plugged in because solar chargers can generate more power than necessary for your motors. Get your basic tools, such as screwdrivers, wrenches, wire cutters, drill motors, and solar chargers.
Charging a Boat Battery Without a Charger
Although it may seem doable, the ideal boat trip does not always happen. We are always susceptible to the worst-case scenario. Before the engine starts making sluggish noises and dies in the middle of nowhere, we get in our boat, turn the key, and ride normally. Why?

Although there are many causes for this incident, the battery is the most typical one. Because you neglected to charge the battery, it might be dead or exhausted. Don’t freak out, whatever the reason may be! Before you ask for help, there are things you can do on your own to handle this battery.
The simplest fix is to jump-start a dead-boat battery. A functioning battery and a set of jumper wires are all you need. But having a jump starter will certainly make things much simpler. There are a few ways to deal with dead boat batteries using a jump-starter:
Using a Backup Battery to Jump-start Your Boat
Connect the negative terminals of the good battery and the dead battery together with the black jumper wire to produce a temporary power source. Continue doing this with the red jumper wire until both the good and dead batteries have positive terminals.
If the spare battery works perfectly, it will instantly start the dead battery. Remove the jumper wires as soon as the boat starts running because the alternator will continue to charge the battery.
Starting Your Boat Directly by a Jump-starter
This is most likely the simplest and most practical way to deal with a dead-boat battery. Boats and other vehicles can be started using jump-starters, which are battery-powered gadgets. They function similarly to jumper wires and don’t need a second vehicle to deliver the power.
The jump starter’s black wire should be connected to the dead battery’s negative terminal, and the red cable should be connected to the battery’s positive terminal. Remove the wires as soon as the boat starts. You can power your battery using some of these techniques without using chargers. In any case, I nevertheless advise carrying a backup battery and dialing for assistance if necessary.

Safety Suggestions When Charging a Battery on Lake
You’re probably already aware that a boat battery contains some potentially dangerous materials. Follow these safety recommendations as a guide to ensure your safety while charging a marine battery.
- When handling your boat’s batteries, wear hand gloves and safety glasses.
- In a well-ventilated area, secure and charge your boat battery.
- Before disconnecting and re-connecting the battery on your boat, make sure the engine is off.
- Check and test your battery, especially if you’ve been using it for a while. You should be aware that your battery has the capacity to hold an electric charge or add to it.
- Continue reading to learn about potential motor upgrades that might make battery charging simpler even while you are navigating in water. Consult a specialist to avoid damaging your battery if you have an outboard or complicated motor.
- When your boat battery gets too hot while charging, let it cool down or quickly turn it off. If you use your battery during the winter or if it becomes frozen, it is best to defrost it before charging.
- To check for safety instructions and prevent charging your boat battery incorrectly, don’t forget to read the charger’s instruction manual.
Conclusion: Charge a Boat Battery
It is so unpleasant to deal with a dead boat battery. You can manage the situation and return to the fun, though, by paying attention to these suggestions. My best recommendation is to have a backup battery or a portable charger like a Marine Battery Charger for emergencies.
You are now prepared to recharge the battery of your boat even while you are on the water. What do you think? Using this tutorial will make it a simple task, right?
It will be much easier for you if the battery shuts down, you can do it quickly following each step in order. Then you’ll notice that everything works and that boating is a smooth and enjoyable experience. It will ensure your security and lengthen the battery’s life.
FAQs
Can I Charge a Marine Battery With a Regular Charger?
A regular battery charger can therefore be used to charge a marine battery, but it is not a reliable, accurate, or wise method to do so.
How Long Does It Take to Charge a Dead Boat Battery?
The typical charging time for a marine battery is 4–6 hours. Your battery will be fully charged after doing this, up to 80%. In addition, it depends on the type of charger that you’re using.


